
Introduction
Terraform as a Infrastructure as Code tool is incredibly powerful. However, time and time again, I have seen environments, drift away from being completely built via code, to either being built via GUI or code that is not part of version control like its predecessors. This is usually code that has been executed from someone’s laptop.
Consequences are many, but to highlight a key issue - if attempting to run the source code, we get the dreaded state file not having the current information. This creates unwanted wastage of time and resources to match the Terraform with the current state of your infrastructure platform.
How
- Download the latest version of aztfexport from below
https://github.com/Azure/aztfexport # can be used to find the source and the installers for your OS.
- On windows , you can use winget to get it installed quickly

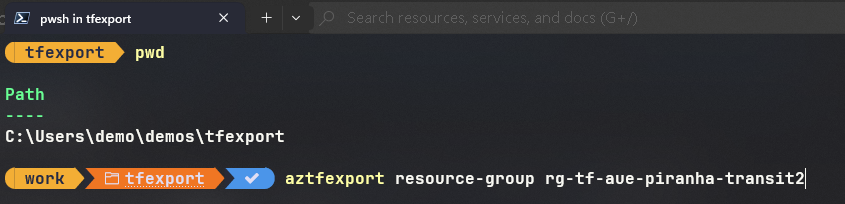
- Before executing aztfexport please ensure you are in the right working directory. If this is your first export of a particular resource, it is recommended to start in an empty directory. The screenshot below assumes that you’ve used az login to login to azure. Post login do not forget to set the subscription to the desired subscription. Once logged in , you can use the following command to begin the export
aztfexport resource-group NAME_OF_THE_RESOURCE_GROUP
- This should begin the export of the resources targetted against that particular resource group. You can also choose to export a particular resource contained within a resource group as well.
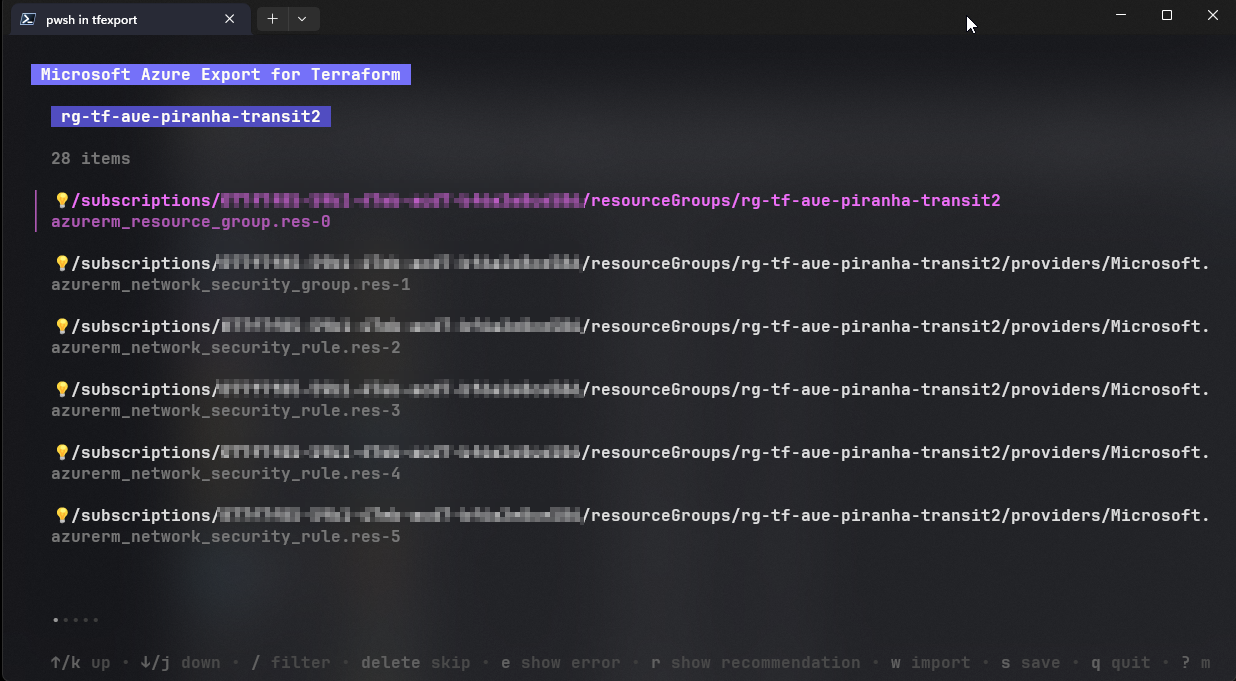
- The first step post export is that aztfexport will now display all the resources that it has managed to export. Use your Left and Right arrow key to browse through the various exports
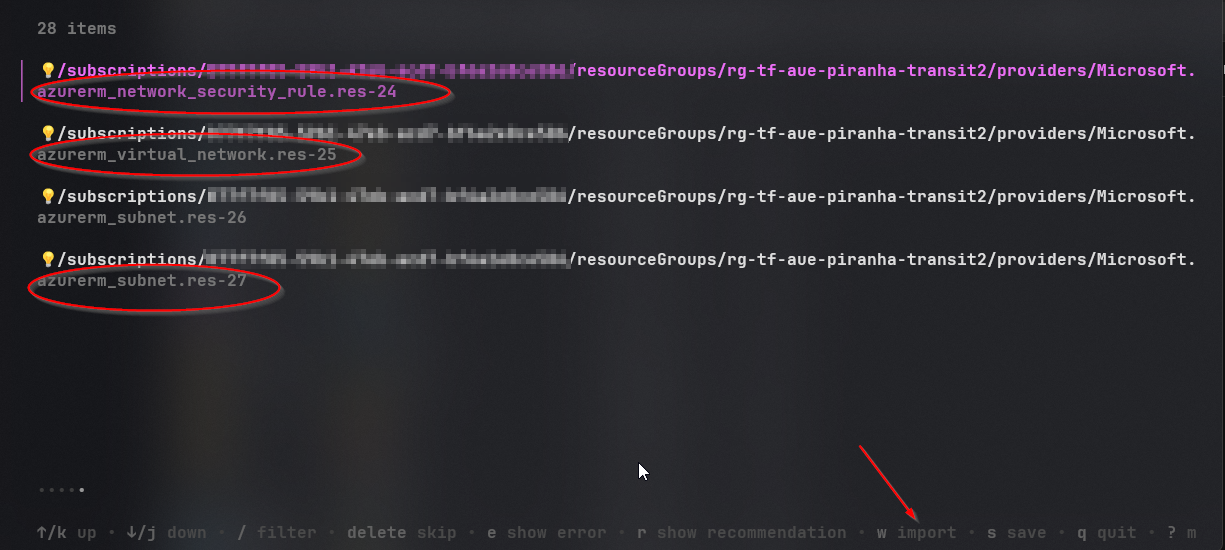
- In this example, I have exported a resource group that contains an NSG with about 24 NSG rules and a Virtual Network with 2 subnets. Press ‘w’ to start the import process.
- The process has a dashboard (sort off) that displays progress and the type of resource being exported.
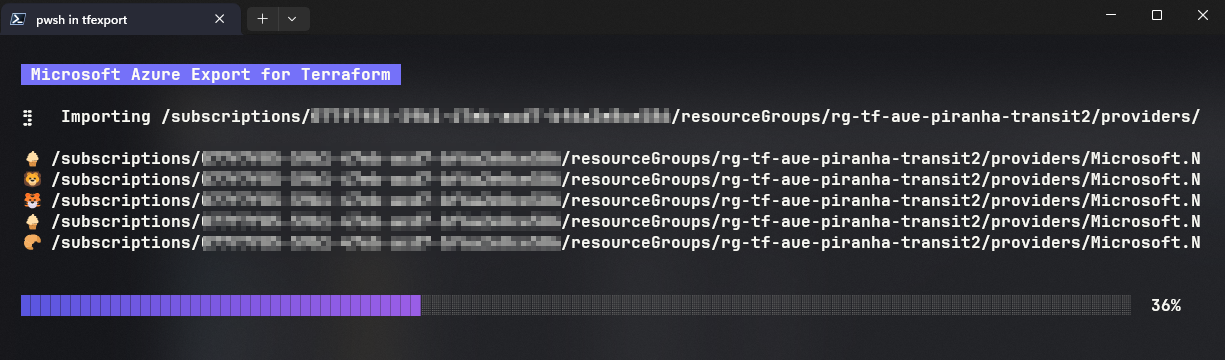
- Successful export will display the message with a link to the working folder.

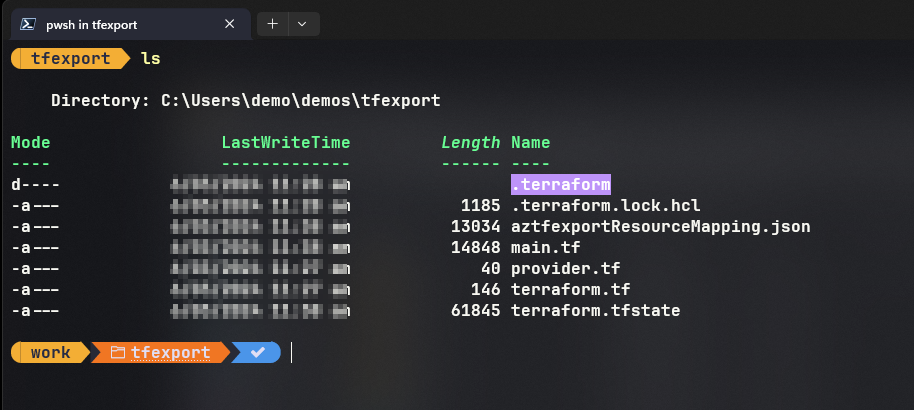
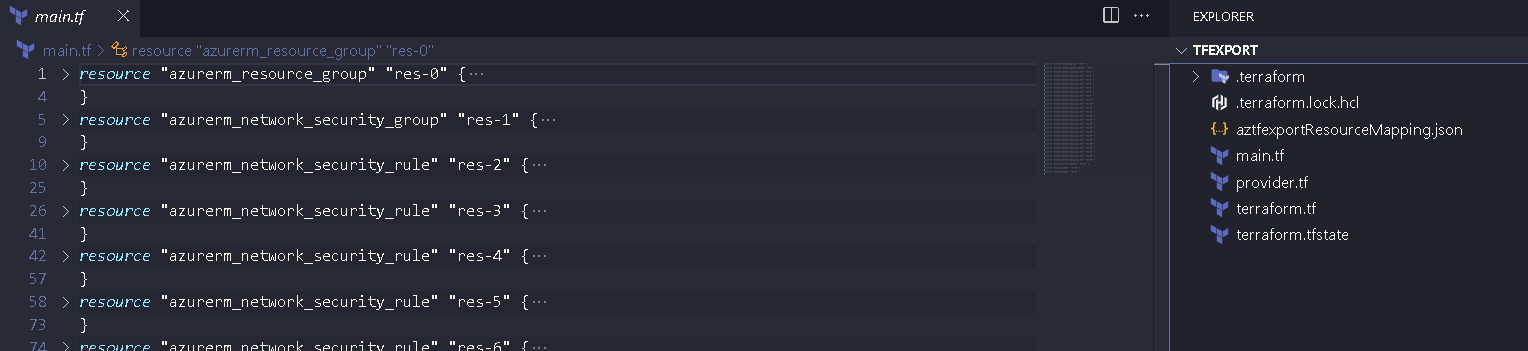
- A quick look into the folder displays the various files that are now occupying an empty directory that we started with.
- main.tf - contains the terraform resource files for the various resources - resource group, nsg rules, nsg etc.
- terraform.tfstate - contains the state file which would be populated with the imported resources. Later in this post, the tfstate file is updated with new resources that did not exist during the first import.
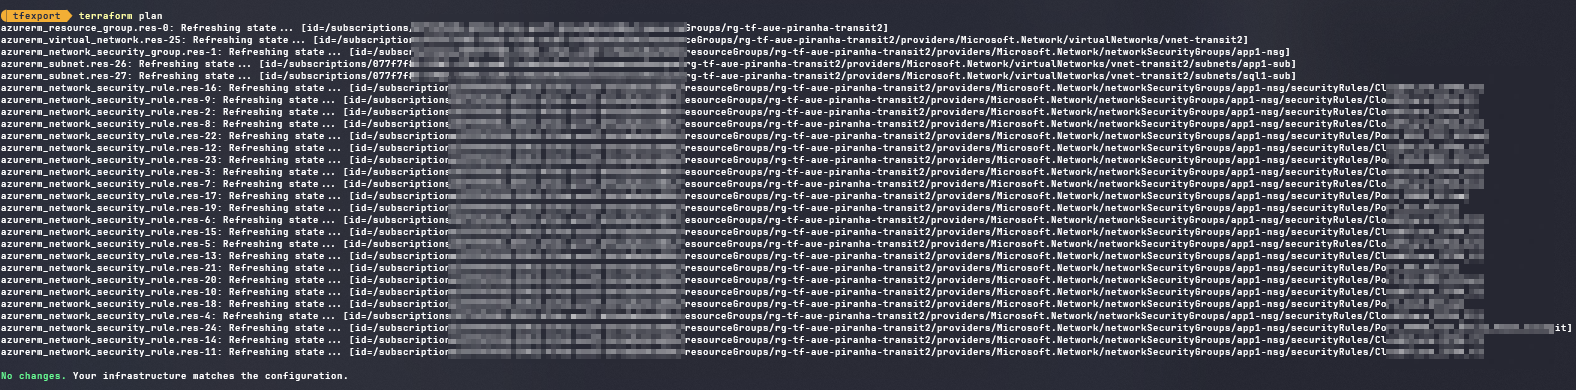
- Let’s confirm that all resources / services have been imported onto that folder. During a terraform plan execution, Terraform would go and compare the state file to your existing cloud deployment. In our case, as it is just after an export, no changes are expected.
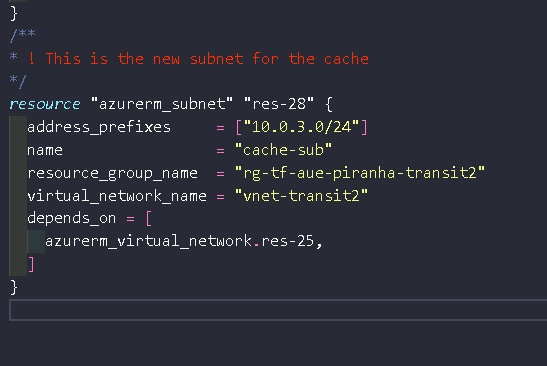
- Let’s say post export, we need a new subnet. Instead of doing the change from the GUI, add the resource onto the main.tf file as show below
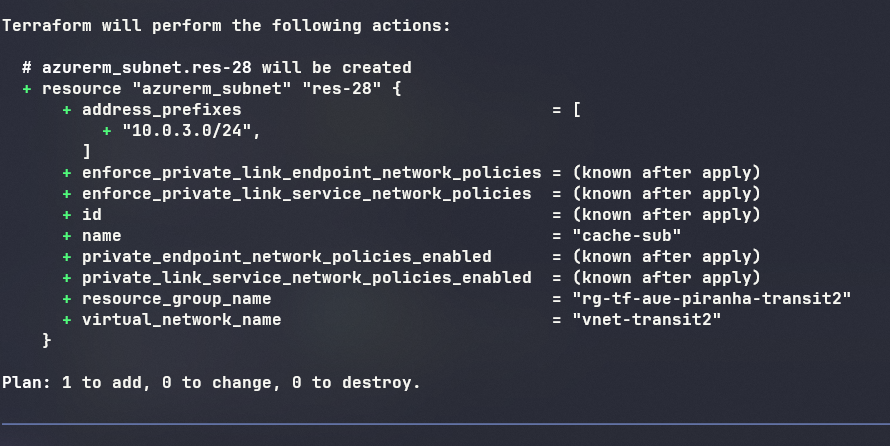
- A new terraform plan will display the change that is being asked to be completed.
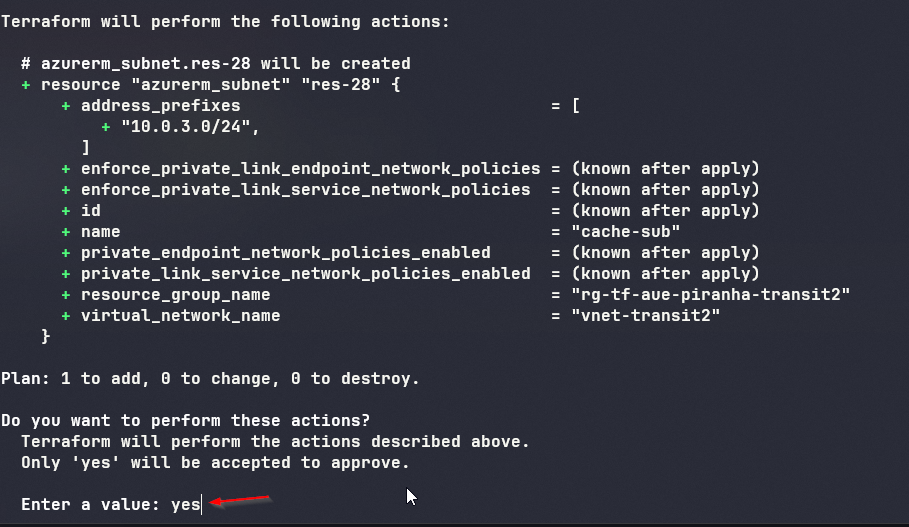
- terraform apply will begin the implementation of ‘said’ changes
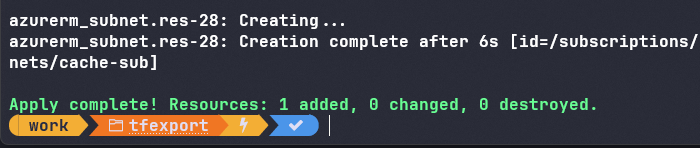
- As per the requested change, a new ‘cache-sub’ is added to the existing Virtual Network.
What’s next ?
- Move the terraform code base to your existing pipeline / or build a new pipeline to maintain these services going forward.
- Move the terraform state file to either azure blog storage or use terraform cloud to maintain your state file going forward.
- Future changes are implemented through the your ’now’ mature devops practices and methods.
- Stop ‘folks’ from having GUI access for their day today operations. Keep it ‘read’ only.
Why ?
- Super powerful and very simple to use.
- Get your drifts in control and bring back code compliance.
- Build something from the GUI and then being able to import it into code for repeatability and ongoing code based deployment.
- Bicep to Terraform - should you :) ?